How to Photograph the Dolomites at Sunrise
Alarm times, headtorch routes, and exposure settings for shooting Sorapis, Croda da Lago and Lago di Misurina at first light — with the walk-in timed to the minute.
Reviewed by the Cortina Compass desk
Last verified on foot: October 2025 How we research
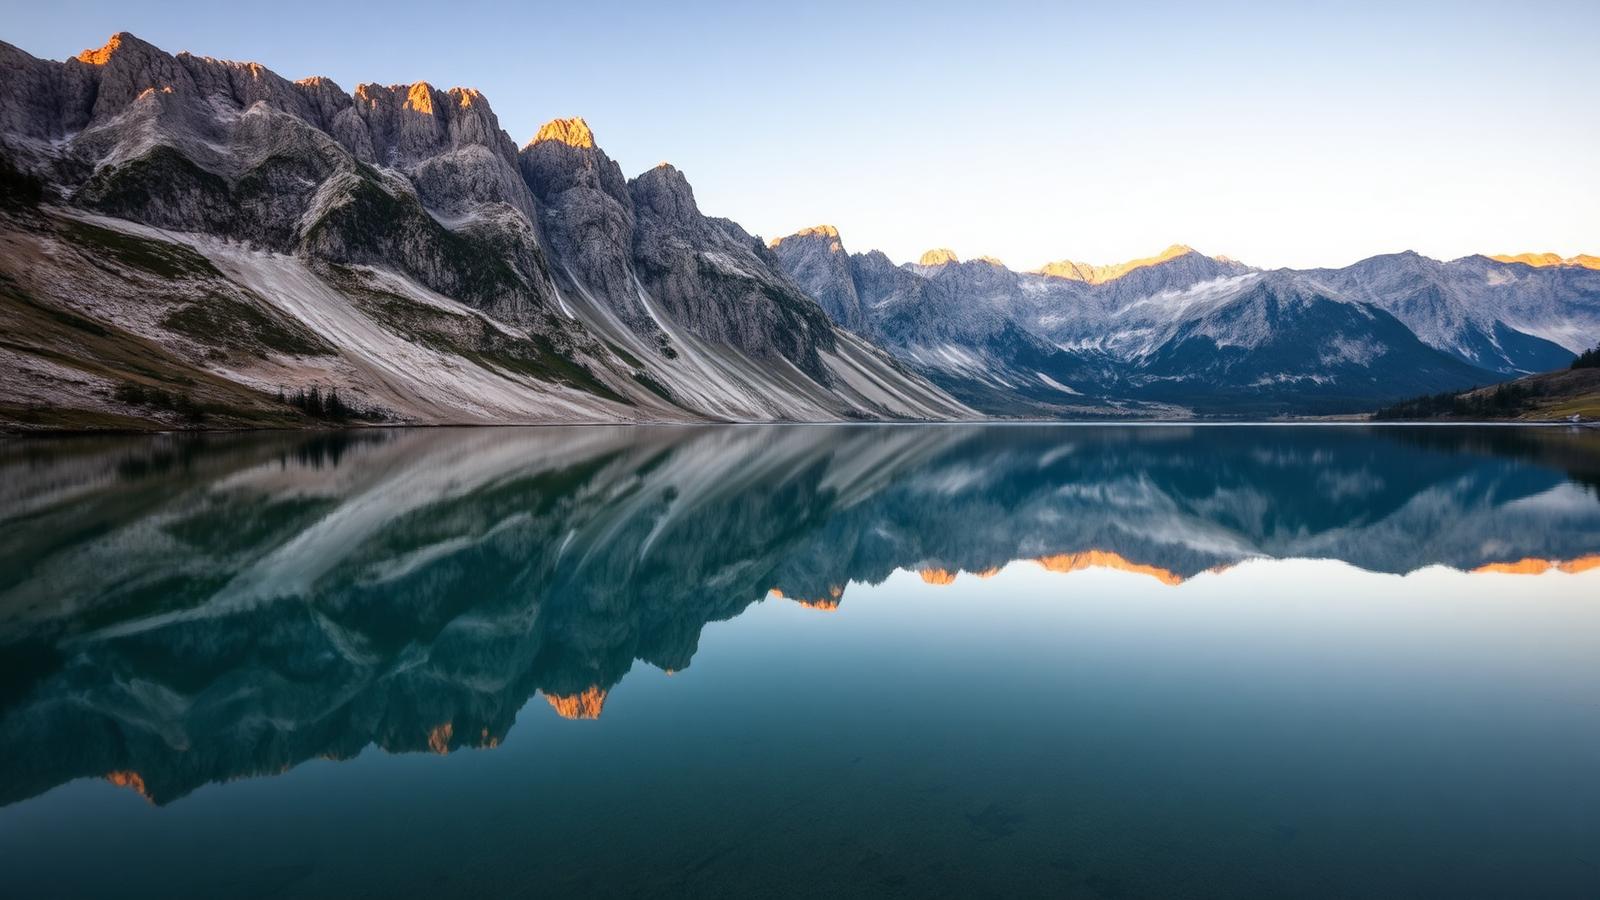
The Dolomites are generous with photographers but stingy with time — enrosadira lasts minutes, not hours, and the best foregrounds are almost always five minutes further than the parking sign suggests. These notes on how to photograph the dolomites at sunrise are the ones I wish I had before my first sunrise here.
Everything below is specific to how to photograph the dolomites at sunrise — access, timing, and the details that actually change the day.
Why this location works
Sunrise photography here isn't about the camera settings, it's about correctly reverse-engineering the alarm clock — get the walk-in wrong by even fifteen minutes and you're setting up your tripod in the exact light you drove out for.
Dawn shoots worth the alarm
Lago di Misurina shoreline
East-facing across the water to Sorapis and Cadini; arrive 40 min before sunrise for glassy conditions, 24-70mm.
Lago Federa reflection basin
Croda da Lago lights up directly overhead; needs the 1h10 headtorch walk-in from the Ronch car park, so leave by 4am in July. 16-35mm.
Passo Tre Croci ridge overlook
Quick 30-min approach for a high, wide view of the Sorapis massif catching first light without doing the full lake trail. 70-200mm.
Lago di Ghedina dawn stillness
Closest to town (10 min drive), reliably calm water most mornings before wind picks up around 8am. 35mm.
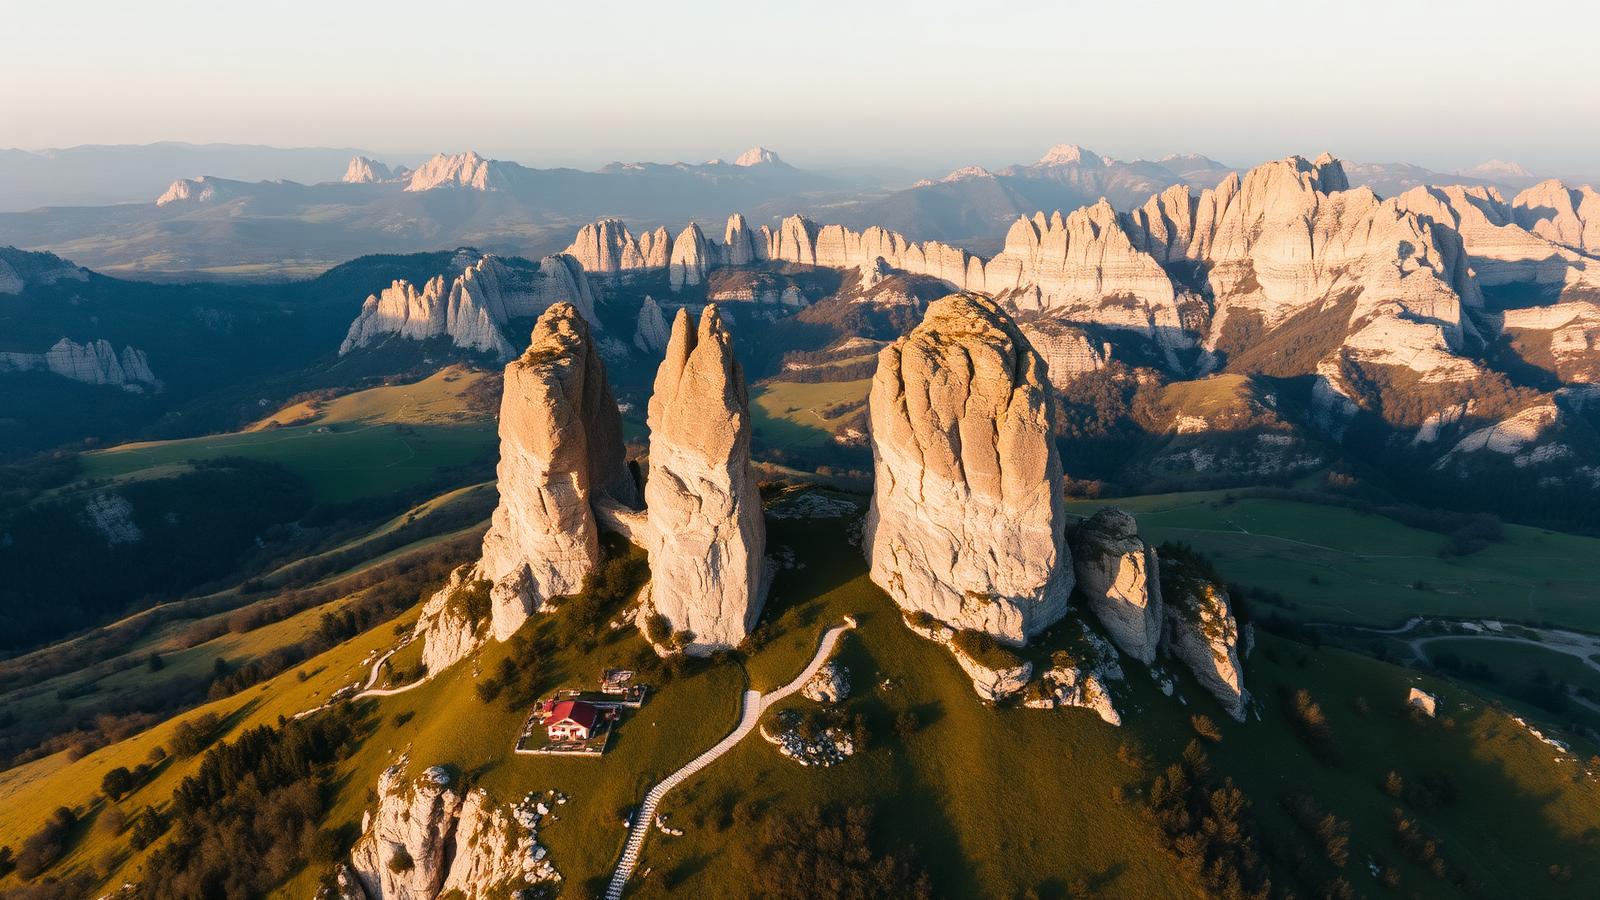
Cinque Torri from the museum ridge
East light rakes across the towers around 06:00 in July; walk up from Bai de Dones before the first chairlift if you want it solo. 24-70mm.
Light windows and enrosadira
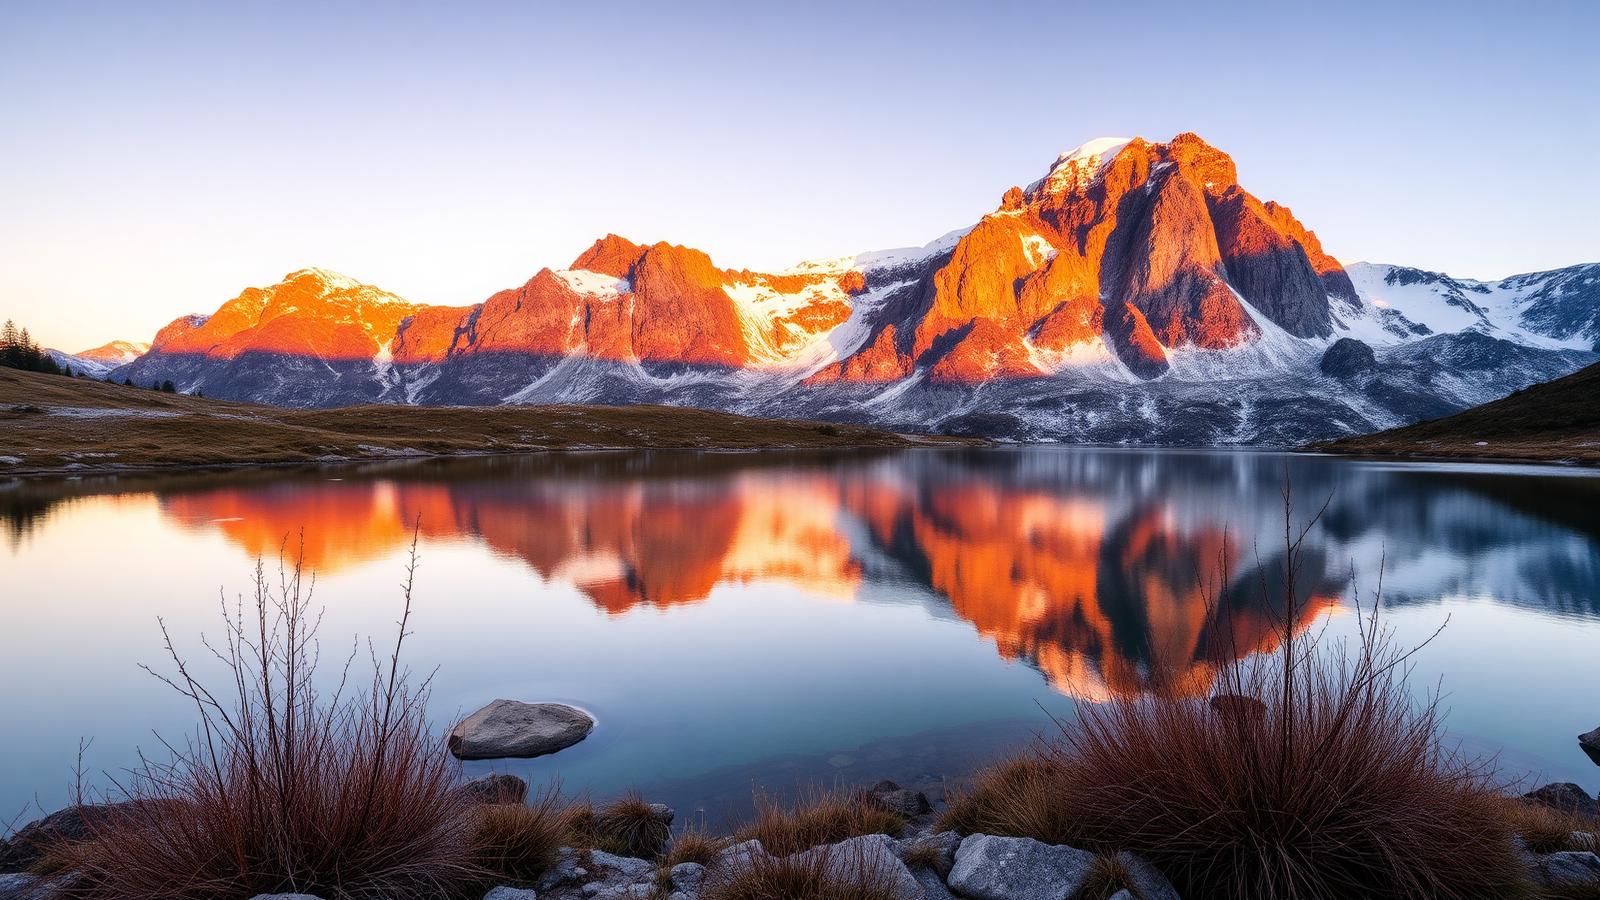
The famous alpenglow — enrosadira — happens twice a day and lasts minutes, not hours. Arrive in the dark, compose in the blue hour, and be ready when the first light hits the ridge. Missing it by five minutes is missing it entirely.
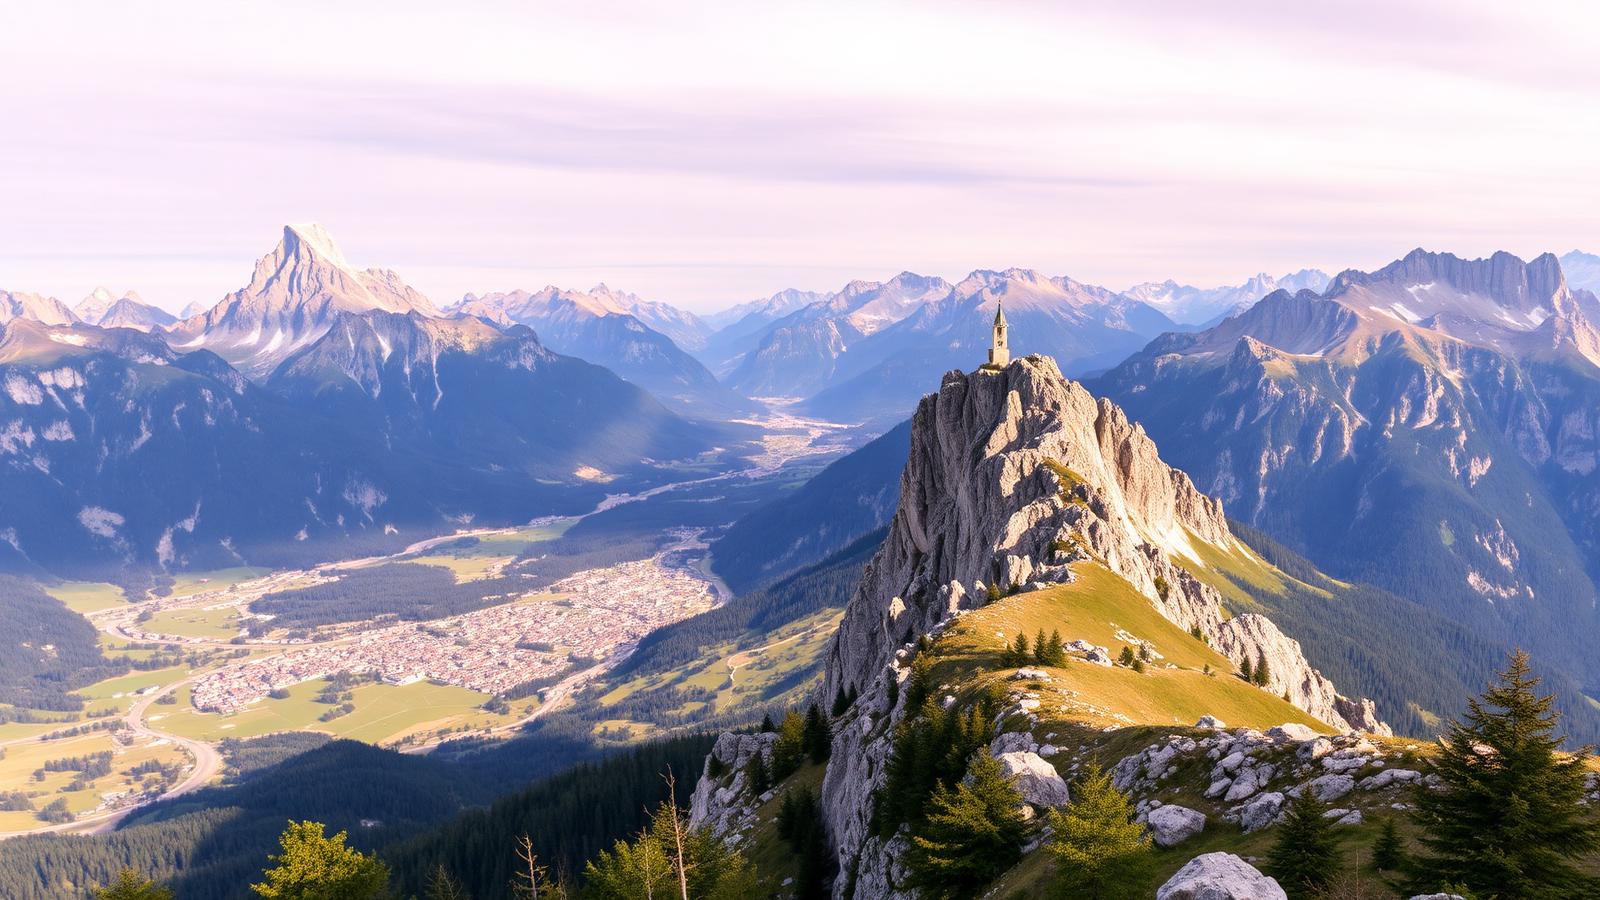
Gear that actually earns its place
Compositions worth working for
The obvious frame is not always the best one. Walk past the marked viewpoint; low foregrounds — grass, rocks, larch branches — anchor the image and make the wall behind feel like a place rather than a wallpaper. Expose for the bright rock and lift shadows in post-processing.
Access and ethics
Photographer's code
Stay on marked paths. Do not fly drones in national park zones or over people. Ask before photographing shepherds, staff, or private property. The pictures you regret are the ones you took at someone else's expense.
Post-processing notes
Dolomite rock is bright; expose for the highlights and lift shadows in post. Avoid the oversaturated pink-orange preset that flattens the actual gradient of alpenglow. Trust the file more than the memory.
The pre-dawn logistics of Lago Federa specifically
The walk from the Ronch car park near Croda da Lago to Lago Federa is roughly 1h10 on trail 435, climbing about 400m through forest before the basin opens up. In full dark that time doesn't compress — if anything it stretches, because you're moving more cautiously over roots and a couple of short rocky steps that are easy in daylight and awkward with a headtorch beam narrowing your peripheral vision.
Budget the walk at 1h20 rather than 1h10 for a first attempt, and add ten minutes at the lake to find your composition before the light actually starts moving — the eastern wall of Croda da Lago catches first colour surprisingly early because there's very little in front of it to block the low sun. Bring an extra layer; the basin holds cold air until the sun is properly up.
Frequently asked questions
How early do I actually need to leave Cortina town?
For Lago Federa in July, leave by 04:00 — the drive to Ronch is 15 minutes and the walk-in with headtorch is 1h10 on uneven ground you don't want to rush.
Do I need a headtorch even on a full-moon night?
Yes. Tree cover on the Federa and Croda da Lago approaches blocks moonlight almost entirely for the first 40 minutes, and the trail has enough roots and loose stone to need a direct beam.
What white balance should I shoot for enrosadira?
Shoot RAW and set daylight (5500K) rather than auto — auto white balance on many cameras tries to correct out the pink, which is the whole point of being there.
Is Lago di Misurina genuinely easier than Federa for a first sunrise shoot?
Yes — it's a five-minute walk from parking with no headtorch route-finding, making it the better choice for a first attempt before you commit to the longer approaches.
Does fog ruin the shot or help it?
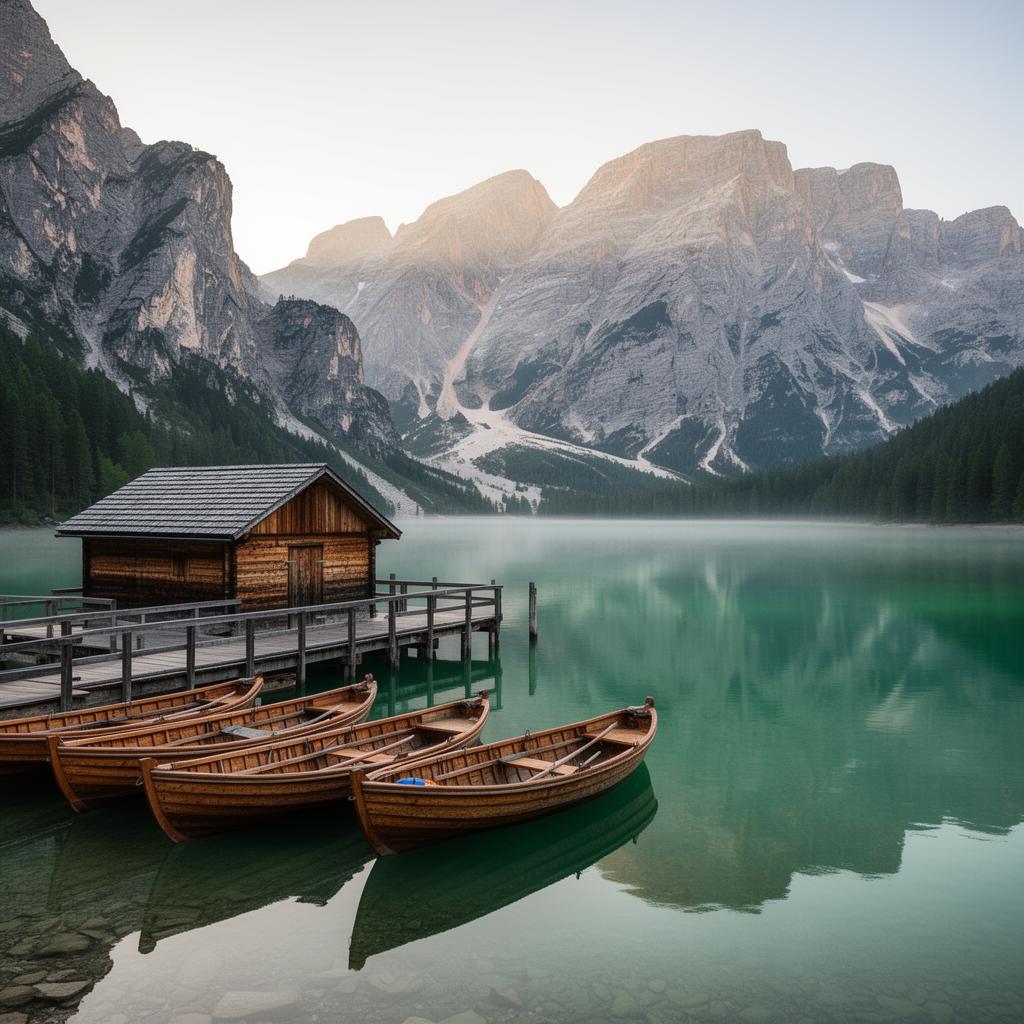
Low mist sitting on Misurina's water while the peaks stay clear above it, which happens often in September, produces better images than a completely clear sky — keep a longer lens ready for that layered look.
Arrive early, walk further, protect the ground, and let the light do most of the work.
Sources & further reading
Plan the next piece
Build a trip, not a checklist.
Pair this guide with a realistic itinerary and a place to stay near the activities you care about most.