Dolomites Drone Photography Rules
What ENAC, EASA and the Regole d'Ampezzo actually permit around Cortina — registration, the 120m ceiling, no-fly zones, and where enforcement genuinely happens.
Reviewed by the Cortina Compass desk
Last verified on foot: October 2025 How we research
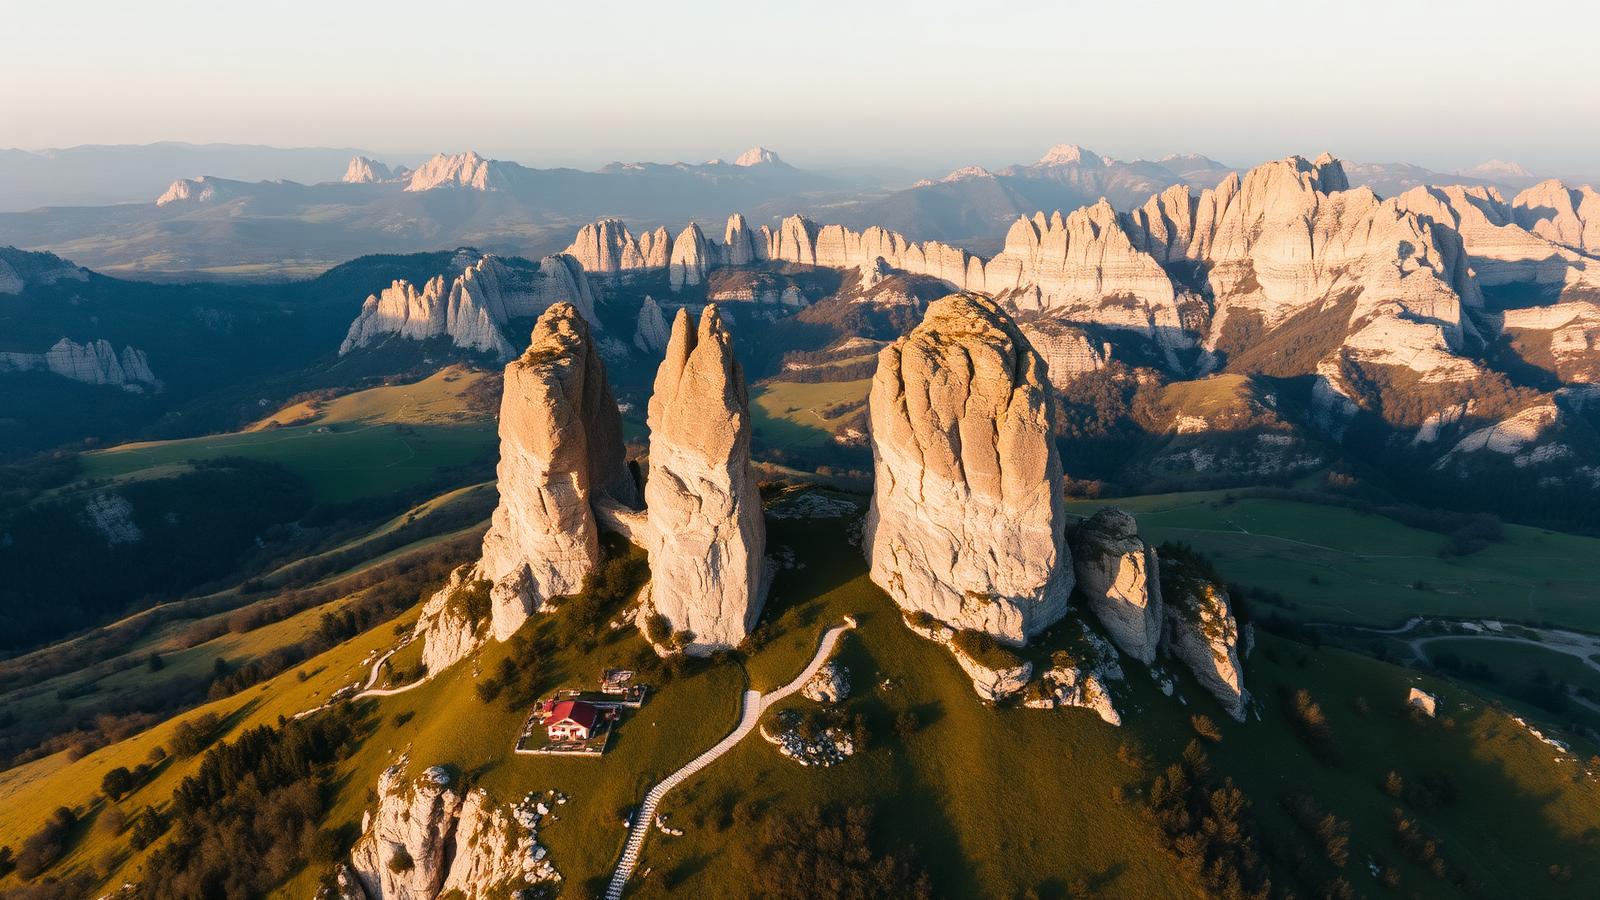
The Dolomites are generous with photographers but stingy with time — enrosadira lasts minutes, not hours, and the best foregrounds are almost always five minutes further than the parking sign suggests. These notes on dolomites drone photography rules are the ones I wish I had before my first sunrise here.
Everything below is specific to dolomites drone photography rules — access, timing, and the details that actually change the day.
Why this location works
I get asked about drone rules more than any camera setting, and the honest answer is that most of the Ampezzo valley's best-looking landscapes sit inside restrictions that are enforced far more actively here than in most of Italy.
Where I'd never suggest flying
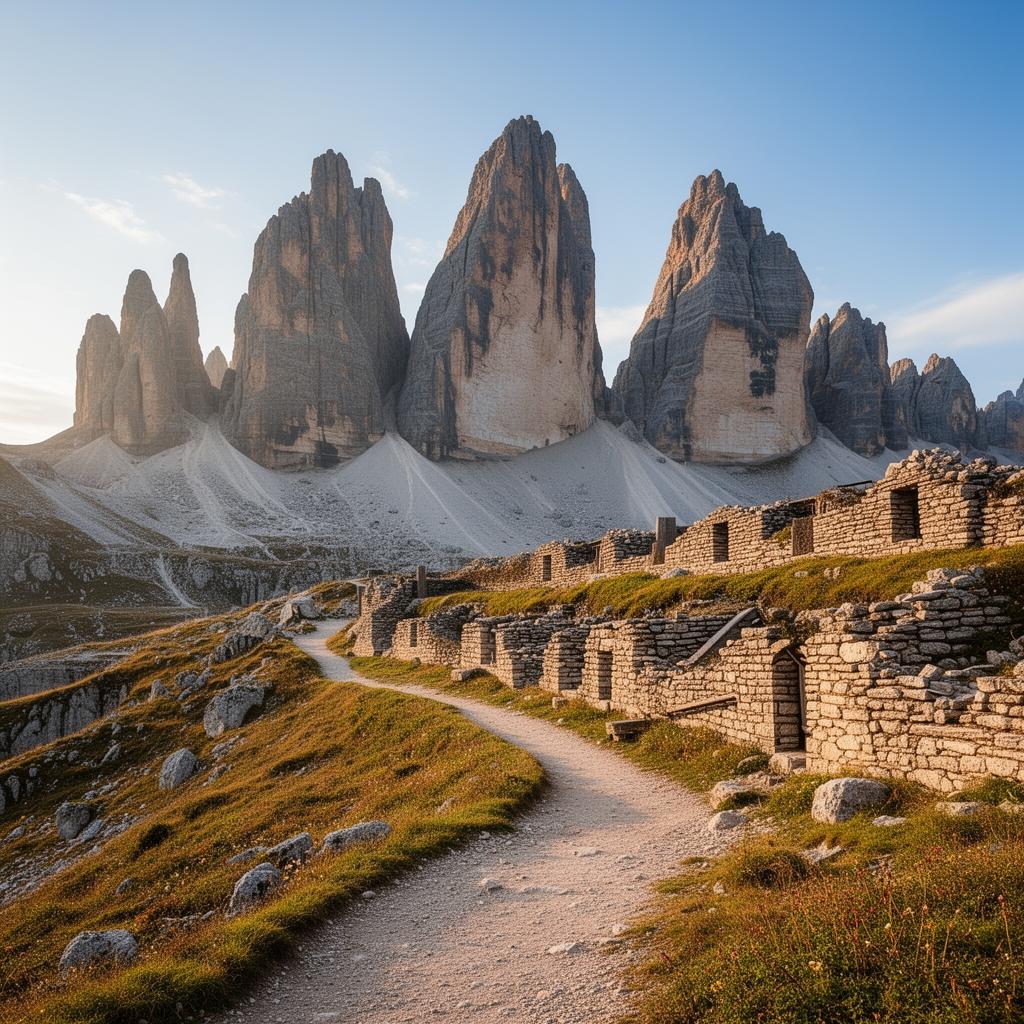
Tre Cime di Lavaredo core zone
Inside the Dolomites UNESCO buffer and a nature park — flight here is restricted; check park authority guidance before even packing a drone.
Cinque Torri open-air museum
Busy with walkers on the ridge and towers used for guided climbing — overflight risk to people rules this out most of the day.
Lago di Sorapis basin
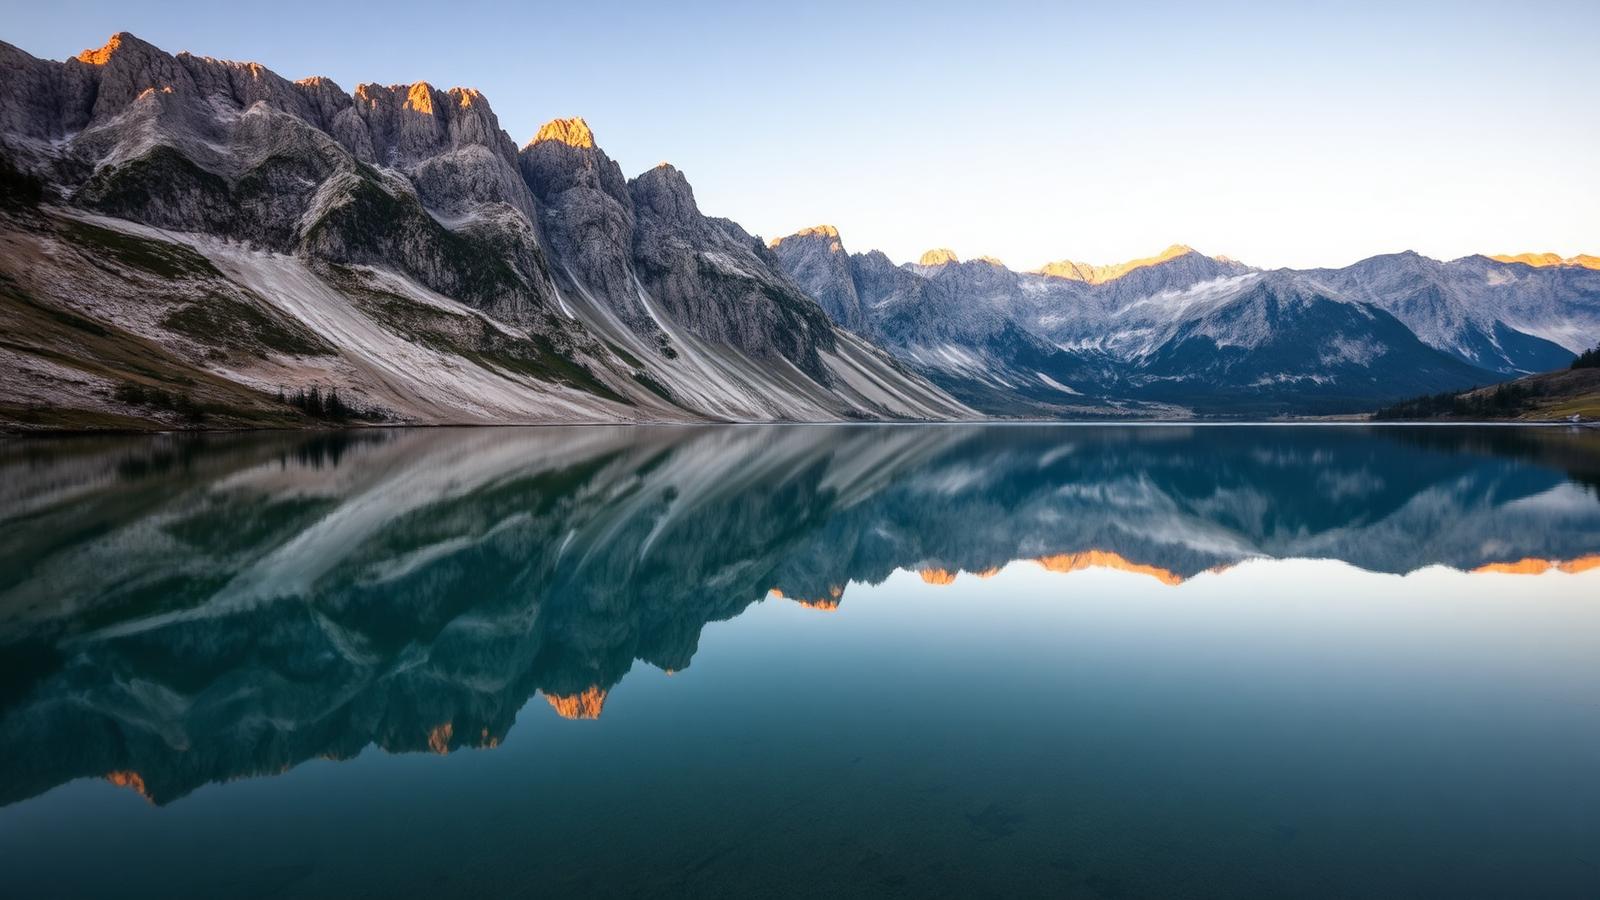
Protected lake environment with narrow trail traffic below — noise and disturbance concerns make this a no for responsible flight.
Lago Federa cirque
Same protected-basin issue as Sorapis; the enclosed cliff walls also create genuine radio and GPS signal problems for the aircraft.
Any pasture with grazing cattle
Regole d'Ampezzo grazing land is actively used through summer and disturbing livestock with a drone is both illegal and a fast way to upset the farmer who owns the herd.
Light windows and enrosadira
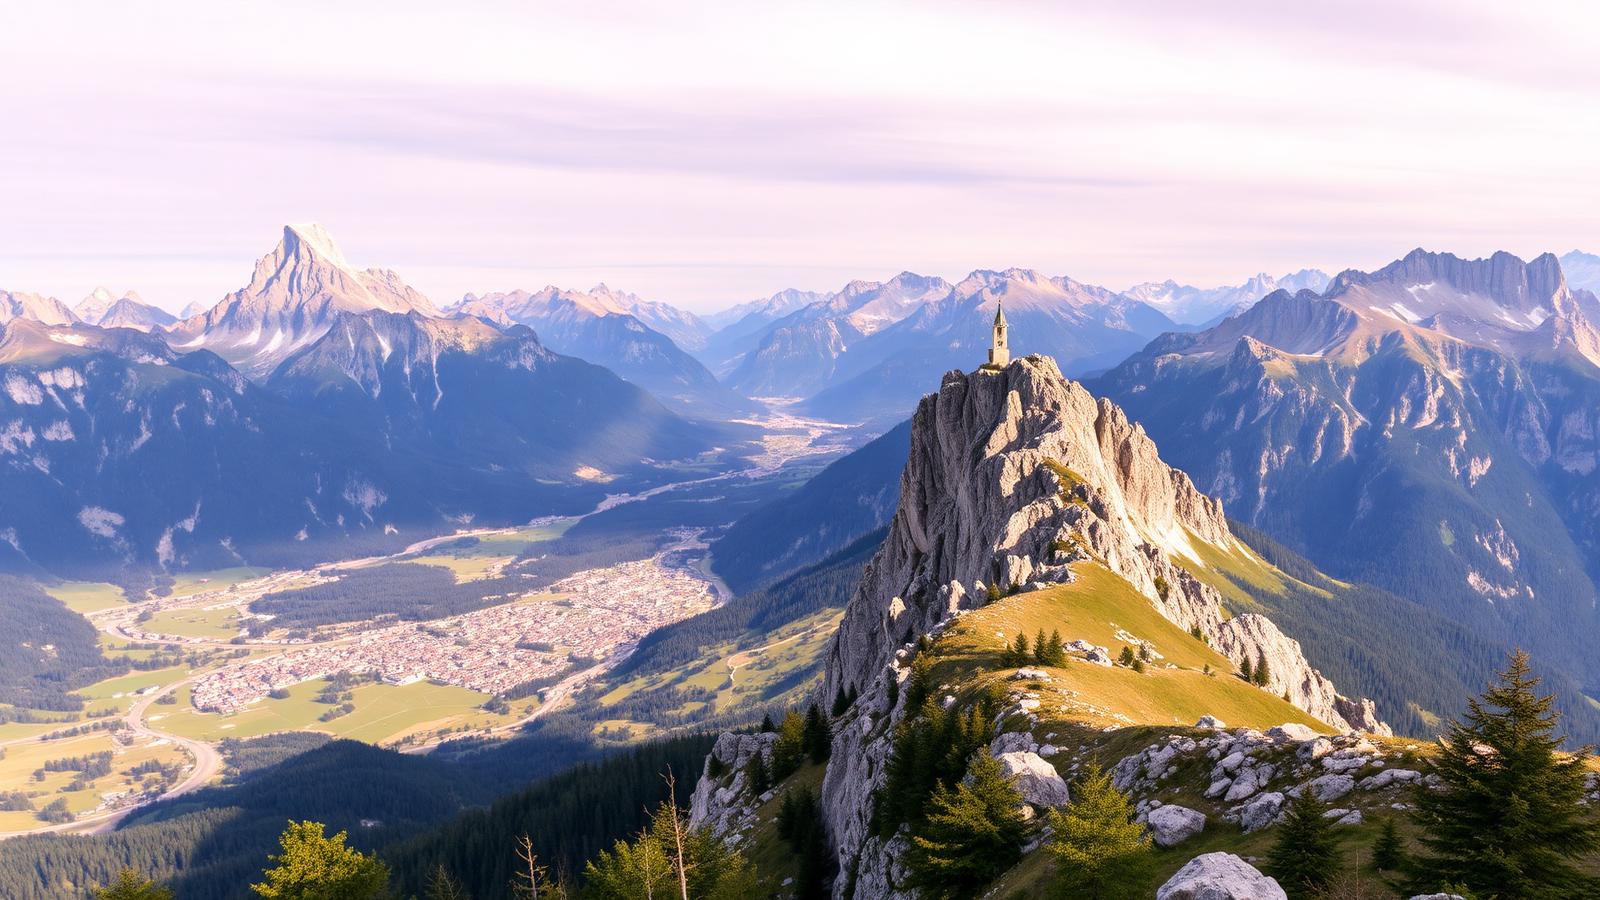
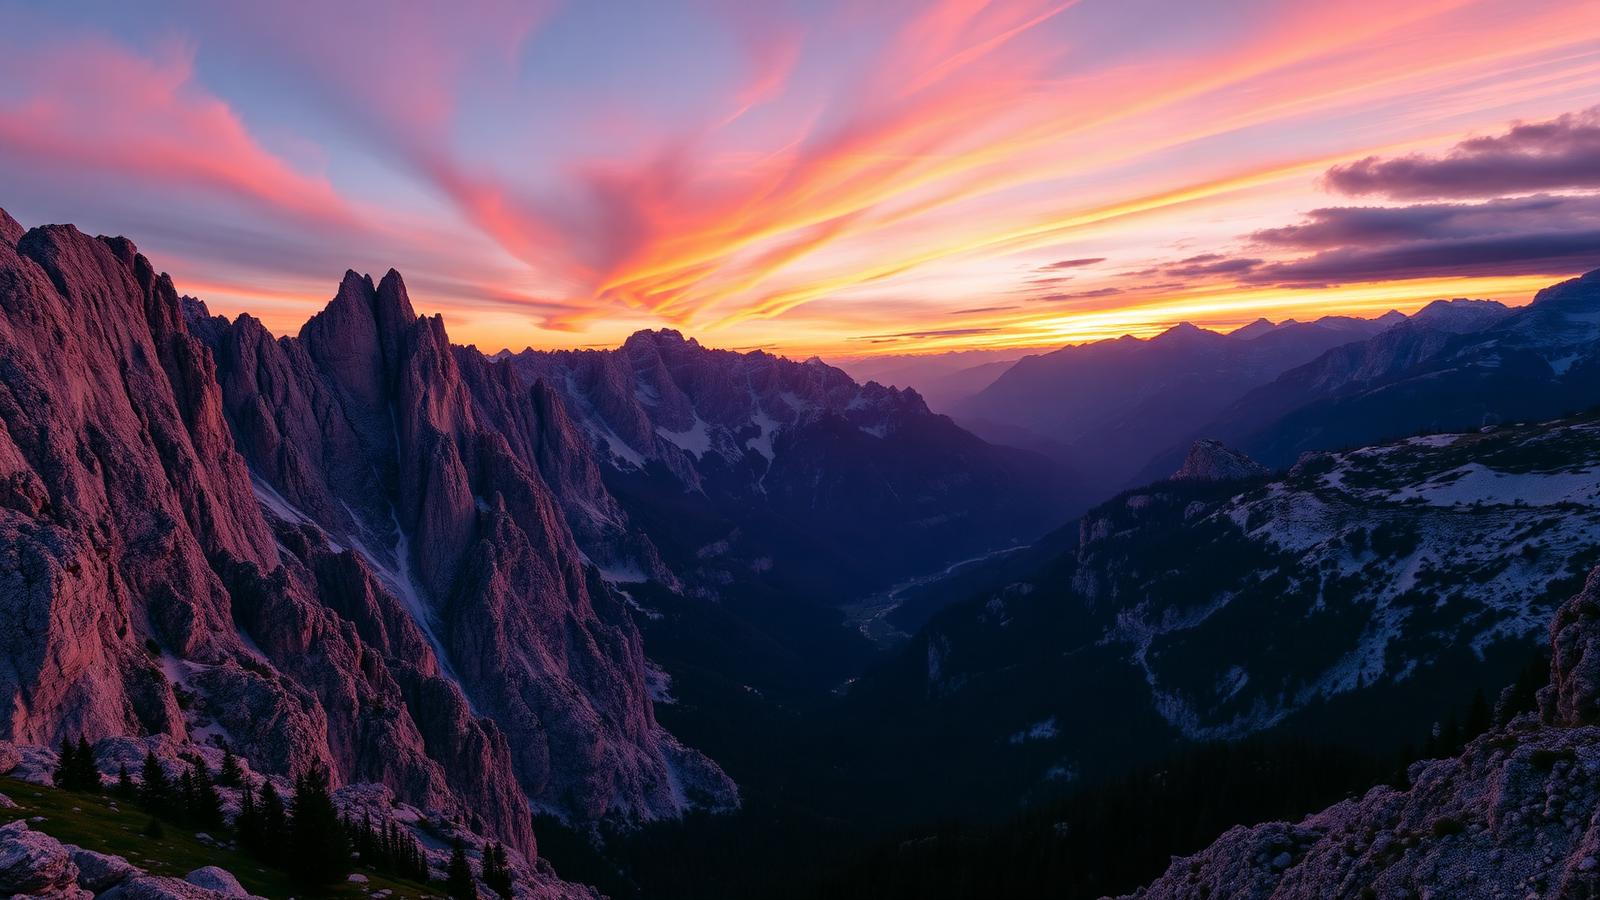
The famous alpenglow — enrosadira — happens twice a day and lasts minutes, not hours. Arrive in the dark, compose in the blue hour, and be ready when the first light hits the ridge. Missing it by five minutes is missing it entirely.
Gear that actually earns its place
Compositions worth working for
The obvious frame is not always the best one. Walk past the marked viewpoint; low foregrounds — grass, rocks, larch branches — anchor the image and make the wall behind feel like a place rather than a wallpaper. Expose for the bright rock and lift shadows in post-processing.
Access and ethics
Photographer's code
Stay on marked paths. Do not fly drones in national park zones or over people. Ask before photographing shepherds, staff, or private property. The pictures you regret are the ones you took at someone else's expense.
Post-processing notes
Dolomite rock is bright; expose for the highlights and lift shadows in post. Avoid the oversaturated pink-orange preset that flattens the actual gradient of alpenglow. Trust the file more than the memory.
The legal reality of flying inside the Regole d'Ampezzo
The Regole d'Ampezzo is not a government park authority — it's a communal land ownership institution dating back centuries, governing forest, pasture and much of the high ground around Cortina on behalf of Ampezzo families. Because their authority over the land is separate from national aviation law, satisfying ENAC's d-flight airspace check does not automatically clear you to fly over Regole-managed ground.
In practice this means the paperwork trail for a legitimate drone shoot near Cortina has two steps, not one: national registration and airspace clearance through d-flight, then a direct check with the Regole d'Ampezzo office on whether the specific parcel you want to fly over allows it. Skipping the second step is the single most common way visiting photographers end up in a dispute they didn't expect, since the land use restriction isn't always visible on a standard aviation map.
Frequently asked questions
Can I fly a drone over Cortina town itself?
No — flying over uninvolved people and buildings in a populated area is prohibited under open-category EASA rules regardless of registration status.
Is the 120m ceiling measured from where I'm standing or from sea level?
From the ground directly beneath the drone (AGL), which matters a lot in this terrain — launching from a valley floor and flying toward a ridge can put you well over 120m relative to the rising ground beneath you before you realise it.
Do I need separate permission for the Dolomites UNESCO area specifically?
The UNESCO designation itself isn't an aviation authority, but it overlaps with nature parks and Regole d'Ampezzo land that do have their own flight restrictions — treat any recognised beauty spot in the UNESCO zone as requiring a check first.
What happens if I fly without checking d-flight first?
Local authorities and park rangers have confiscated drones and issued fines in the Cortina and Belluno area in recent years — this isn't theoretical enforcement, it happens at exactly the well-known viewpoints tourists target.
Are there any locations near Cortina where drone flight is straightforwardly permitted?
Some non-protected valley farmland well outside pasture-grazing and nature-reserve boundaries can be permitted with standard EASA registration and d-flight clearance, but you should verify the specific parcel — there is no single blanket 'yes' zone around Cortina.
Arrive early, walk further, protect the ground, and let the light do most of the work.
Sources & further reading
Plan the next piece
Build a trip, not a checklist.
Pair this guide with a realistic itinerary and a place to stay near the activities you care about most.