Cortina Via Ferrata Guide for Beginners
A field-tested guide to cortina via ferrata guide for beginners, with honest logistics, current planning advice, and the small details that make a Dolomites trip run smoothly.
Reviewed by the Cortina Compass desk
Last verified on foot: July 2026 How we research
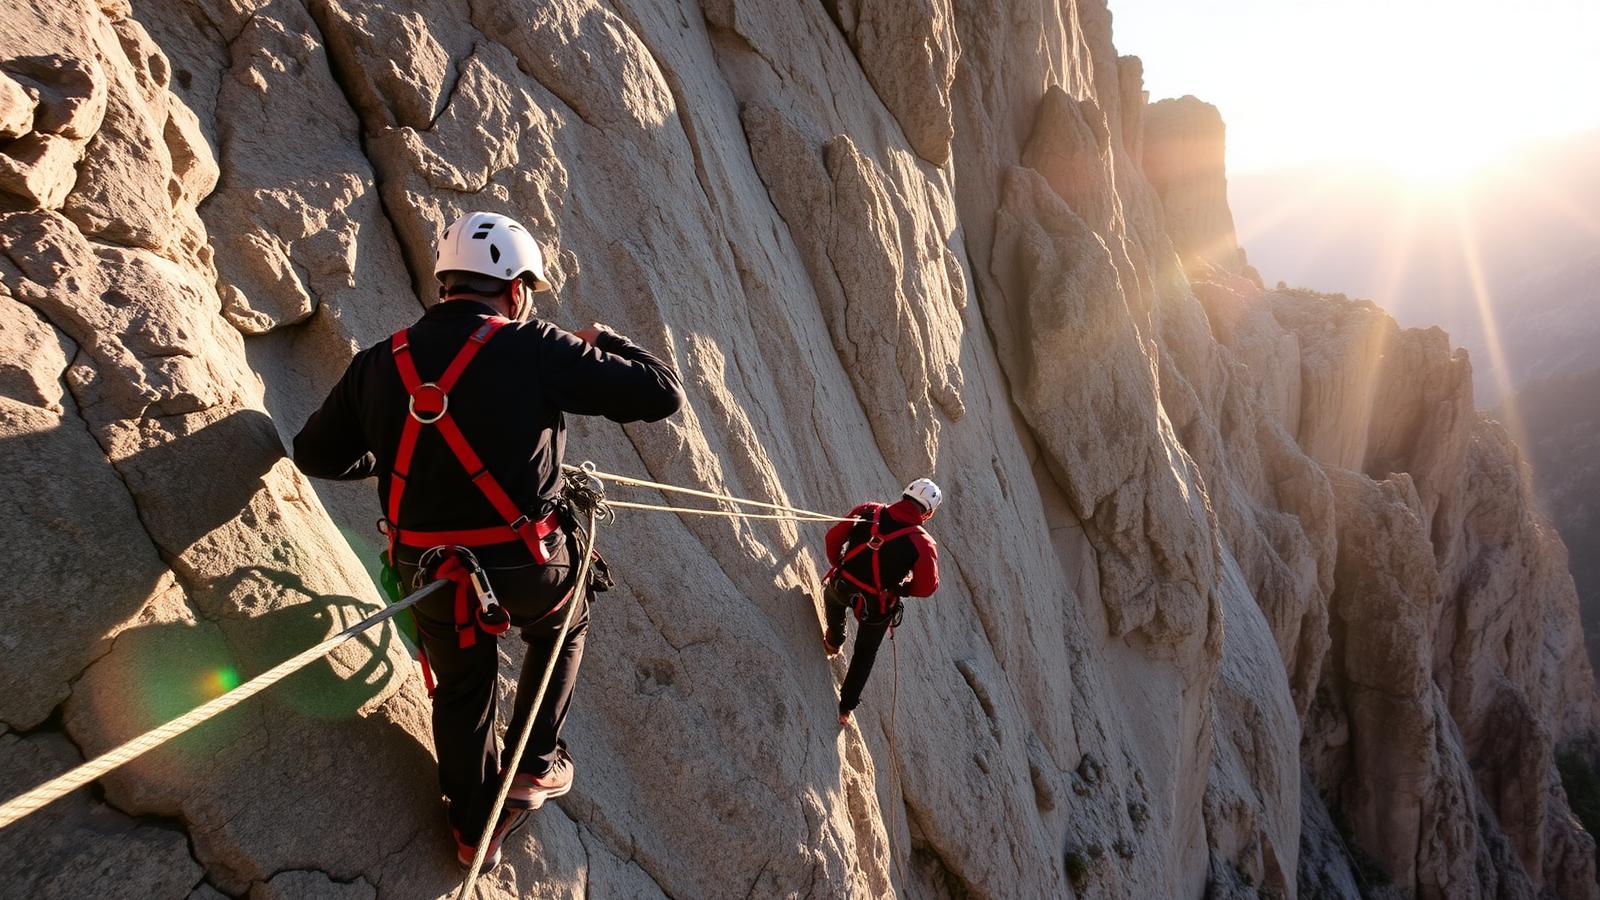
A via ferrata is not a hard hike with a handrail. You're clipped to a steel cable on vertical ground, and the difference between fine and serious is a set of skills you can learn in a morning but shouldn't skip. Cortina is a good place to start, provided you start properly.
What a ferrata actually involves
You wear a harness with a Y-shaped energy-absorbing lanyard and two carabiners. Both clip to the cable; you move them one at a time past each anchor point so you're never unattached. That's the whole system, and it works — as long as the kit is current, the harness fits, and you never unclip both.
Old lanyards without an energy absorber, or homemade slings, are how people get badly hurt. Rent modern gear or buy it. Guide Alpine Cortina and the shops in town both do this.
A progression, not a shopping list
Ferrata Averau (2A)
45 minutes of easy cabling between two rifugi, the standard first route.
Ferrata Ivano Dibona (2B)
Three hours including a suspension bridge, the natural second step up.
Ferrata Giovanni Lipella
Committing and tunnel-heavy, guide mandatory for anyone without led experience.
Punta Anna original cables
The 1917 fixed-line site widely credited as via ferrata's Cortina birthplace.
Kit, and what it costs
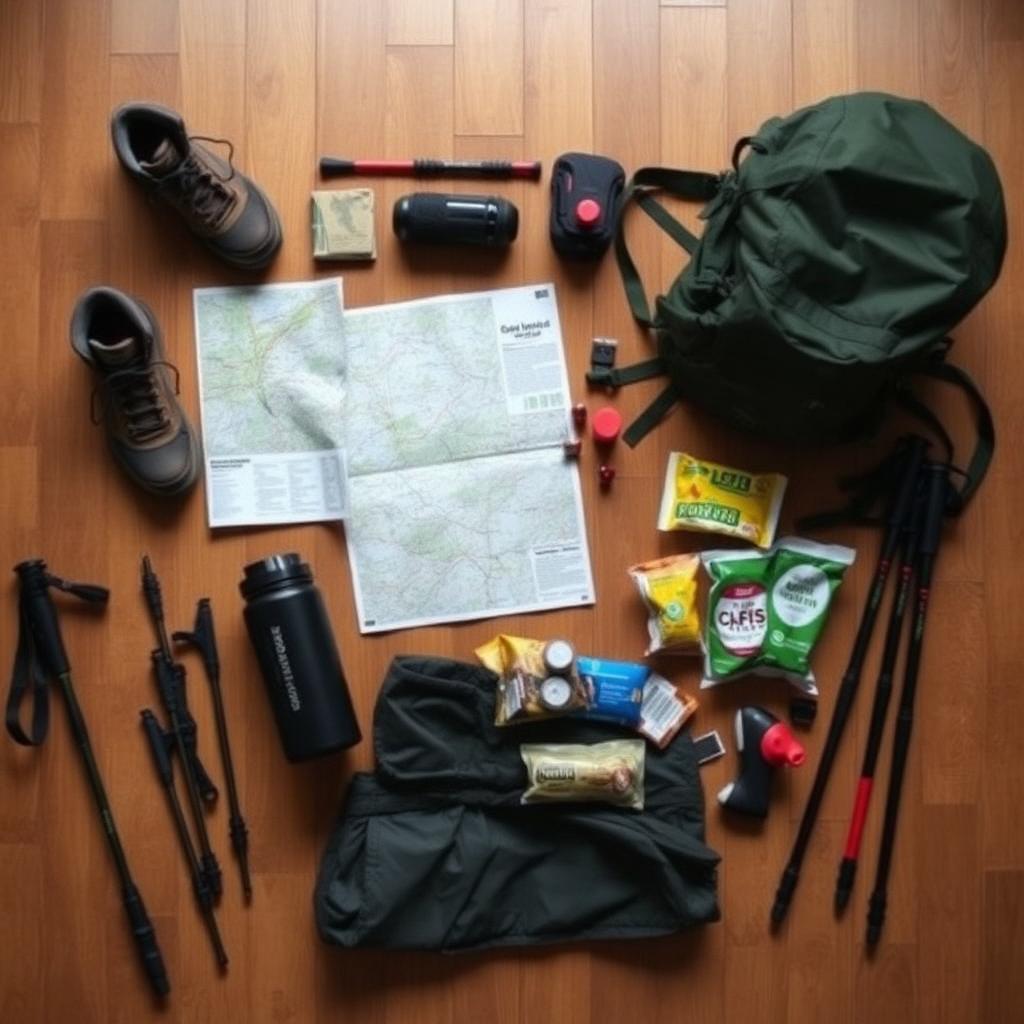
A full rental — harness, lanyard, helmet — runs around €20 to €25 a day locally. A guided introductory day is more like €90 to €130 per person depending on group size, and for a first outing it's money well spent.
Routes to begin on
The Lipella on Tofana di Rozes is the famous one, and it's not a beginner's route: it's long, high and starts with a tunnel section. Better first choices are the short ferrata near Passo Falzarego, and the Sci Club 18 line, which are graded easy and don't commit you to hours of vertical ground.
Whatever you choose, read the grade and the approach walk together. Several "easy" ferratas here have a two-hour uphill approach that's harder work than the cable itself.
Where the exposure pays off
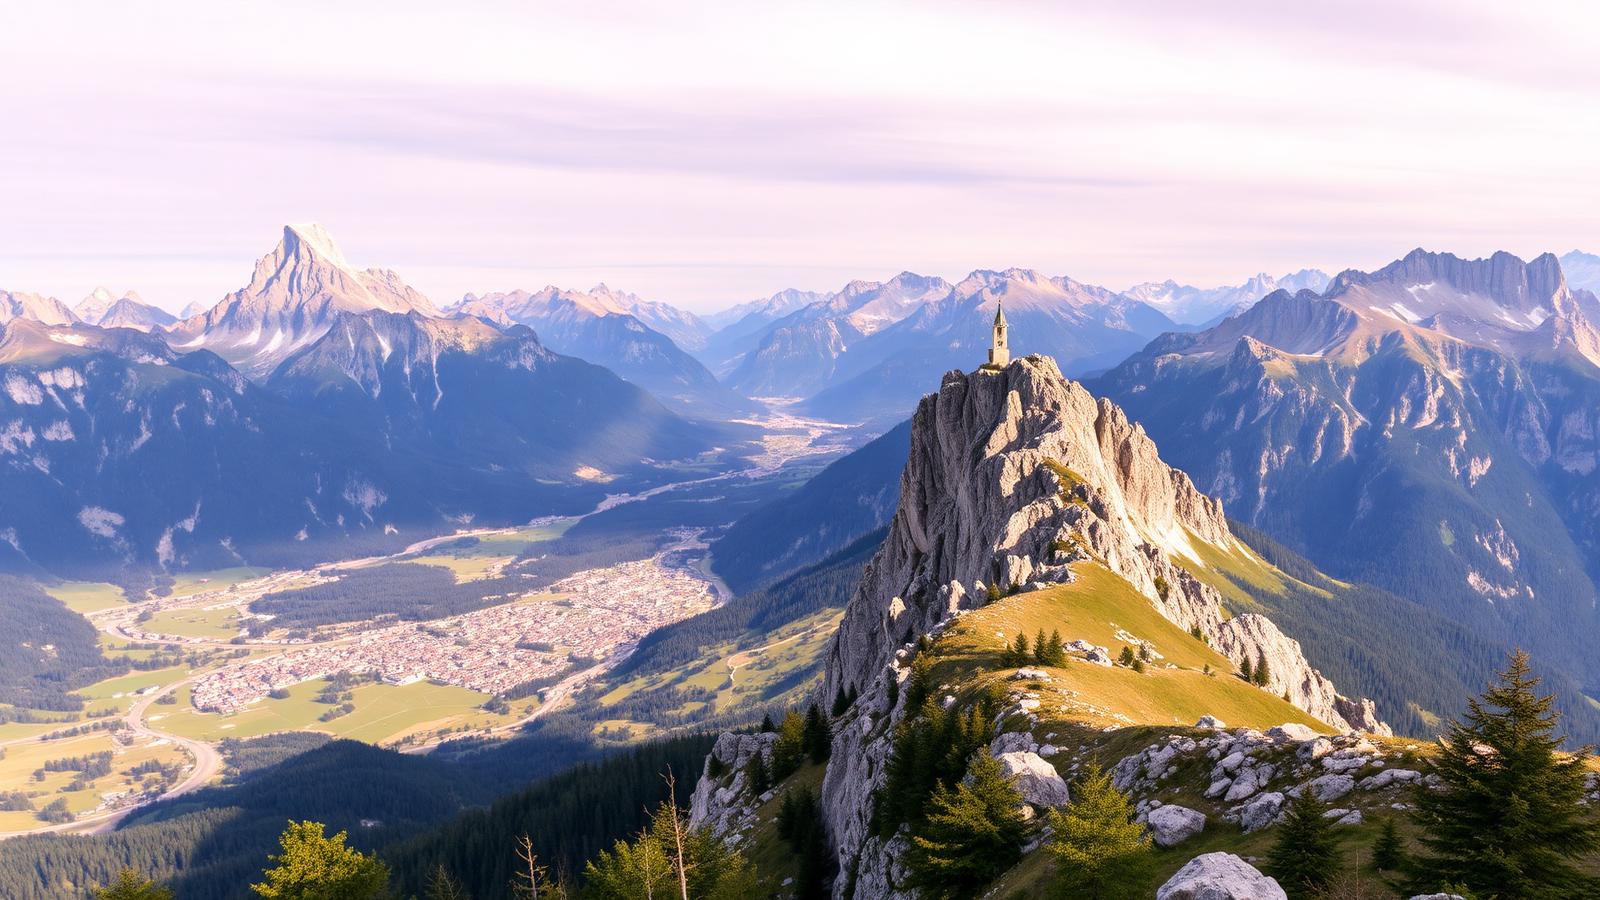
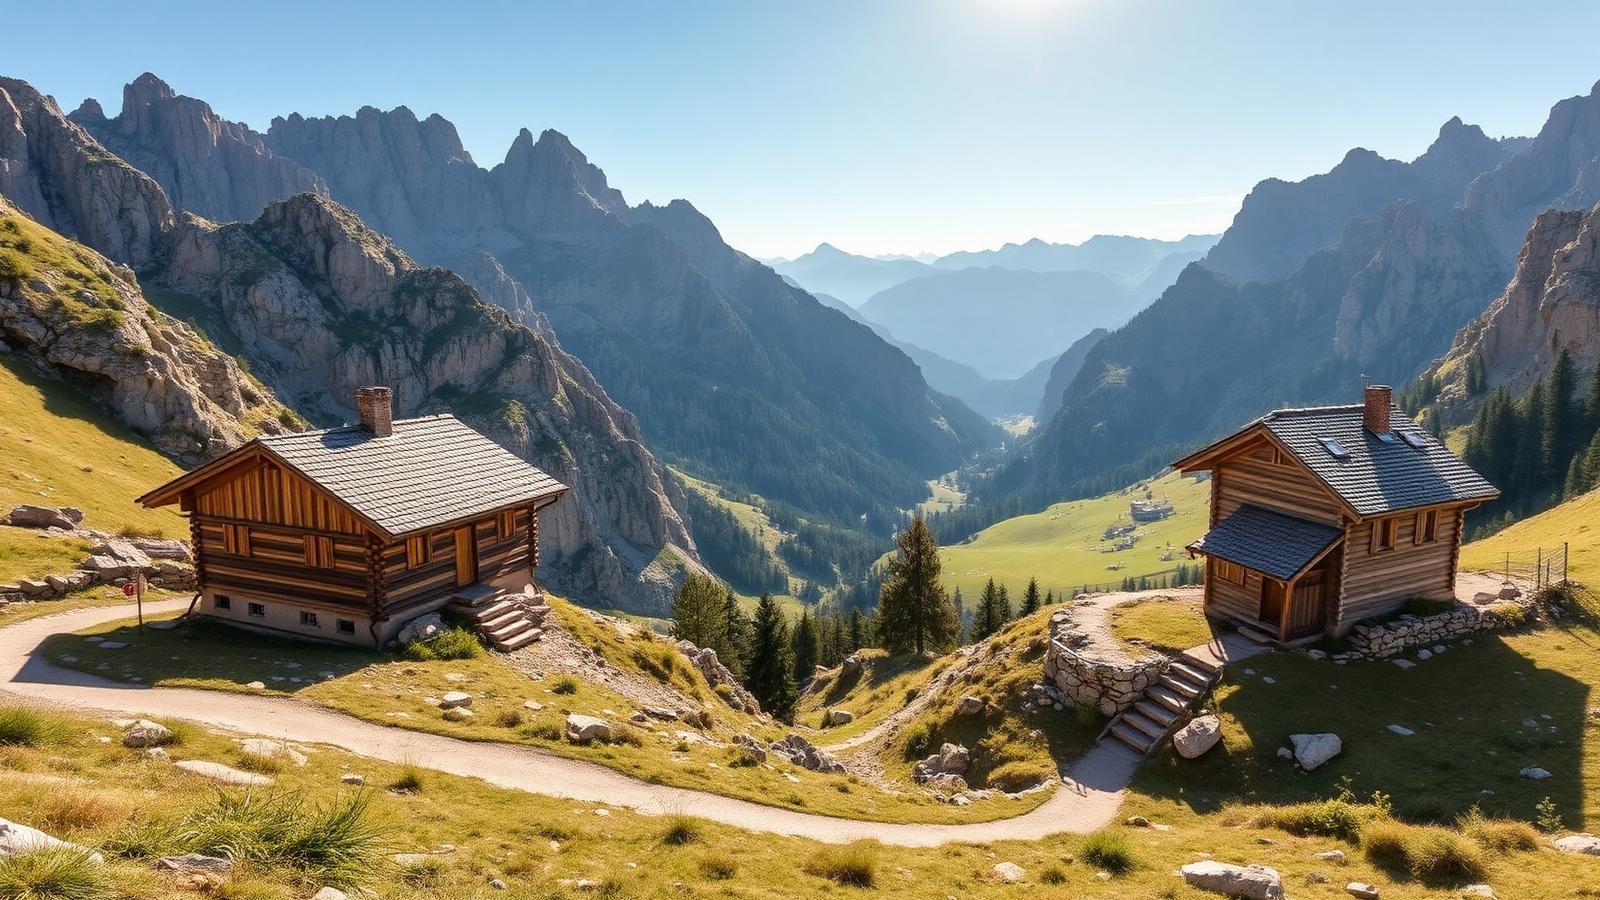
The moment worth having is partway up a wall, standing on a ledge with the valley directly below your boots and no scramble required to see it. You get perspectives on the Tofane and Falzarego from ferrata lines that no walking path offers.
Rock, weather and lightning
Wet rock and cold hands make everything harder. More seriously, a steel cable running up a mountainside is not somewhere to be in a thunderstorm — lightning risk on ferrata is real and it's the main reason routes get abandoned mid-way. Most beginner lines are in condition from late June to late September.
Never clip both carabiners either side of an anchor bolt on a traverse, and keep a full anchor's distance from the person ahead. A fall onto someone below is the common accident, not the dramatic one.
Safety note
Skip exposed ground if storms are forecast. Deciding not to continue is a normal part of walking here, not a failure.
My first one, and what I got wrong
On my first route I'd rented gear but hadn't practised the clipping sequence on the ground, so I did the first three anchors slowly and clumsily with a queue behind me. Ten minutes on flat ground beforehand would have fixed it. Now I always run through it at the base, even on an easy line.
My tip
Hire kit and a guide together on your first outing — Guide Alpine Cortina charges €120 for a private half-day. Full kit rental alone (helmet, harness, lanyard) is €18/day from Sport Gaspari.
Cameras on a cable
Nothing loose, nothing hanging. Camera in a chest pouch or on a short leash, phone in a zipped pocket. I've watched a lens cap fall for what felt like an unreasonably long time, and that was only a lens cap.
If it turns out not to be for you
If you get on the cable and it isn't for you, that's useful information, not a failure. The Lagazuoi tunnels give you war history and exposure with far less commitment, and the Nuvolau ridge walk delivers big-mountain feeling with both feet on a path.
Most guides won't take children under twelve on ferrata, and body weight matters for the energy absorber to work. Ask before you book.
Do not treat a cable car as a guaranteed ride home. Note the final descent before setting off.
Rent for the first two or three outings. Buying a set makes sense only once you know you'll keep doing it.
Start with Ferrata Averau (grade 2A, 45 min of cabling from Rifugio Averau, easily reachable via the 5 Torri chairlift). Progress to Ferrata Ivano Dibona (grade 2B, 3 hours, spectacular suspension bridge) before touching anything harder.
Where the sport began
The first fixed cables in the Dolomites were bolted onto Punta Anna above Cortina in 1917 to move Italian alpine troops through terrain otherwise impassable without ropes; the technique that became recreational via ferrata directly descends from that wartime engineering, and Cortina still offers the widest graded range of any single valley in the range.
Frequently asked questions
Do I need a guide as a beginner?
Strongly yes for the first outing. Via ferrata gear looks intuitive but the correct lanyard technique on transitions is where accidents happen.
What's the easiest via ferrata near Cortina?
Ferrata Averau (2A) — 45 minutes of easy cabling with a rifugio at each end and no true exposure. The perfect starter route.
What kit is mandatory?
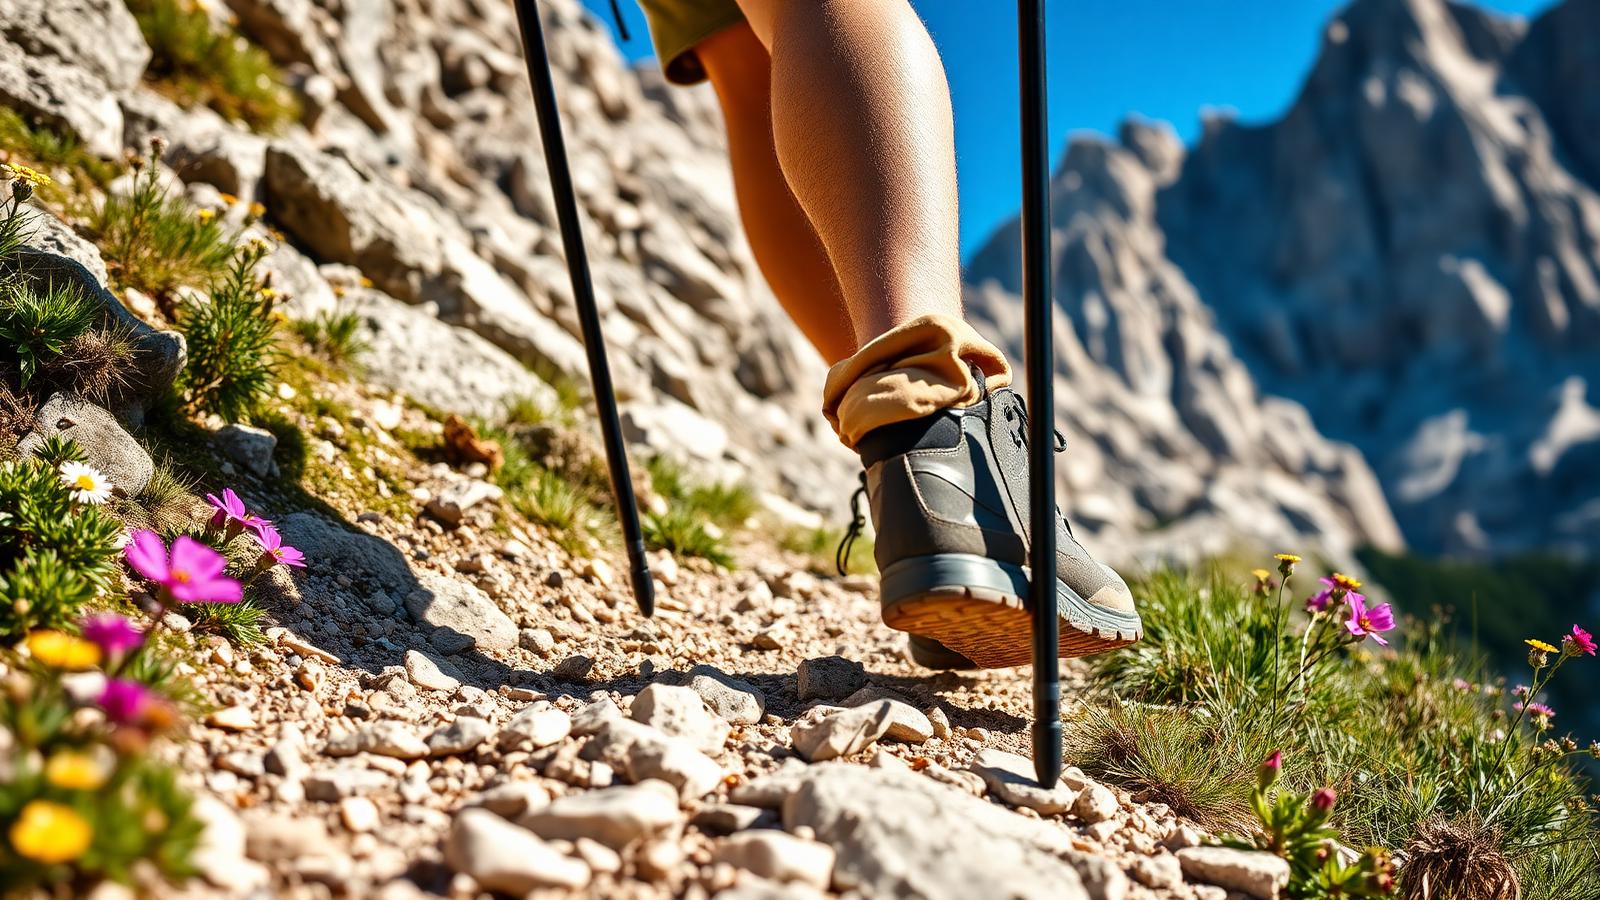
UIAA-certified helmet, harness, and Y-shaped via ferrata lanyard with energy absorber. Gloves and stiff-soled boots are strongly recommended, not optional.
When is the via ferrata season?
Mid-June to early October for most routes. High routes (Marmolada, Punta Penia) need a July-August window and dry rock.
Can children do via ferrata?
From about age 10 with a guide and proper child-size harness on grade-1 routes. Below that, wait — the strength required for arm-heavy sections isn't there.
Get the kit right, take a guide for the first one, and pick a short route. Done in that order, ferrata opens up a side of these mountains that walking never quite reaches.
Sources & further reading
Plan the next piece
Build a trip, not a checklist.
Pair this guide with a realistic itinerary and a place to stay near the activities you care about most.